Drywall filler is an indispensable product when it comes to addressing minor imperfections on your drywall surfaces. Achieving gleaming and seamless walls necessitates understanding the fundamentals of plasterboard filler, whether you’re a seasoned DIY enthusiast or someone new to the process. In this blog post, we’ll go over everything you need to know to make your drywall filler experience easy and productive. Let’s jump right in!
Drywall Filler: What Is It?
Drywall filler, commonly referred to as joint compound or spackling paste, is a versatile substance used to patch holes, cracks, and voids in gypsum board panels. Its consistency is readily workable and pliable, as it is mostly made of adhesives combined with gypsum powder. The material itself is available in several forms, such as powders that need to be combined with water and pre-mixed formulations that are appropriate to be put into immediate use.
-
Pre-Mixed Form
The benefits of pre-mixed compounds are undeniable. To begin with, it is ready to use right out of the container. With this drywall filler compound, you don’t need to fret about obtaining a precise mixture consistency. It also typically comes in a resealable container, which makes it easy to preserve the filler compound in case you intend to utilize it afterward.
-
Powdered Variant
A longer storage life is probably the outcome you receive when you opt for a powdered substance. Since there is no liquid in the compound when it is delivered, it can be stored for an extended amount of time once it is unsealed. However, before starting your application procedure, you need to combine it with water to achieve an appropriate mixture consistency.
Choosing the Suitable Type of Joint Compound
Choosing an appropriate joint compound can potentially have a major influence on the outcome of your repair or renovation assignment. Following are the several kinds that are readily available:
- Lightweight Compound: Perfect for filling in small cracks, leveling shallow dents, and restoring general surface concerns.
- All-Purpose Compound: This compound works well for a variety of purposes and may be applied as both the initial coat and the final finishing coat.
- Setting-Type Compound: This compound hardens and sets much quicker, which makes it ideal for lengthy restorations and immediate renovation assignments.
Essential Equipment for Applying Joint Filler on Plasterboard
To guarantee an effective plasterboard filler application, acquire the following tools ahead of time:
- Putty Knife: An essential instrument for evenly and efficiently distributing the filler throughout the area of damage.
- Sandpaper or a Sanding Block: It serves to smooth out and integrate the freshly applied filler with the surrounding wall surface.
- Clean Cloth or Sponge: A necessary piece of equipment to remove excess filling and maintain a neat workstation.
Step-by-Step Guide to Filler Application
To ensure a seamless and straightforward drywall repair, follow these steps:
- Prepare the Surface: Eliminate any loose debris, dust, or outdated paint from the surroundings of the damaged area to create an immaculate working surface.
- Apply the Filler: Level out the damaged area by uniformly spreading a sufficient quantity of drywall filler with a putty knife. Feather the edges to achieve a seamless transition with the remainder of the wall.
- Let it Dry: Follow the manufacturer’s recommendations and let the filler dry. Depending on the type and thickness of filler used, the drying period might vary. Additionally, air, plasterboard surface, and temperature will all affect how long it takes it to dry out thoroughly.
- Sand and Blend: Smooth the final layer of filler with sandpaper or a sanding block to achieve an even surface. Brush off any leftovers before proceeding.
- Repeat as Needed: It might require multiple applications to cover deeper cracks or gaps. Repeat the application and drying steps until the surface is absolutely smooth.
- Finishing Touches: Once the filler has dried and the surface has been thoroughly smoothed, prime and paint it to match the rest of your wall. Use the right painting techniques to guarantee a perfect finished product.
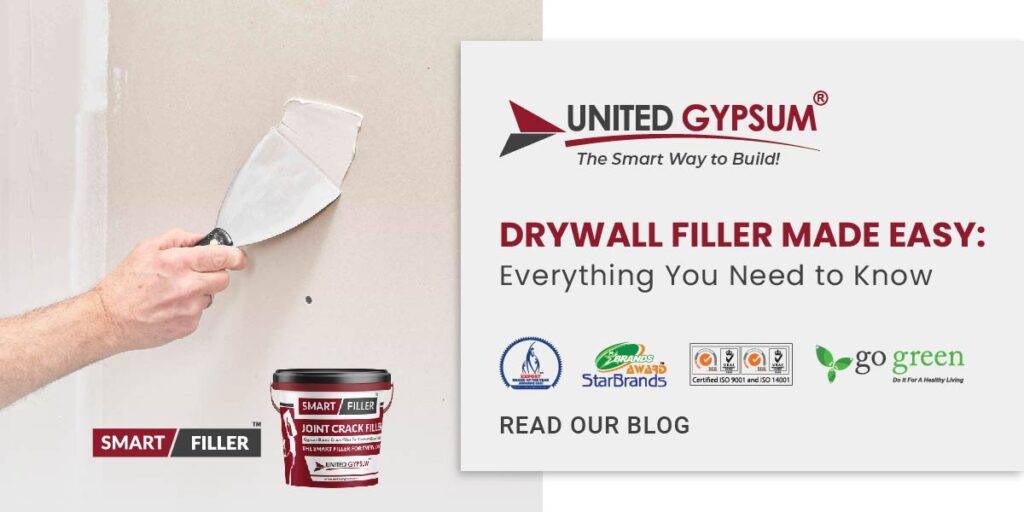
Choosing Smart Filler for Your Upcoming Drywall Project
Precise jointing and seamless finishing are essential when working with a high-quality product such as gypsum board. The ready-to-use combination of Smart Filler offers an ideal flush jointing and finishing treatment of drywall panels. Once air-dried, it forms an even, firm surface that is ready for paintwork and also possesses adhesive capabilities.
It can thus be employed straightaway without mixing or adding additional water, and it can also be spread over the entire surface of the plasterboard for a glossy appearance. The strongly recommended Smart Filler is intended to be utilized throughout business, corporate, and residential environments. Additionally, Smart Filler is designed to improve and repair distinctive interior surface categories.
Product Specifications: United Gypsum offers Smart Filler in plastic buckets containing 5Kg and 26Kg volume. Depending on the surrounding locations, 12 to 24-hour interval between subsequent coats is advised when utilizing Smart Filler. Moreover, the intended shelf life of this drywall filler is 8 months since its date of manufacture. It is strongly encouraged to store Smart Filler containers away from humidity, extreme temperatures, and light exposure.
Final Thought
Learning the fundamentals of drywall filler application could turn out to be a game changer for your repair and renovation endeavors. Fixing minor flaws while achieving high-end outcomes can be achieved by learning the types of fillers that are available, having the necessary instruments on hand, and applying them correctly. Therefore, refrain from feeling discouraged by those cracks and holes in your gypsum board panels and invest some time in acquiring these skills. Due to its superior quality and specifications, Smart Filler must be your go-to choice for your next drywall project.